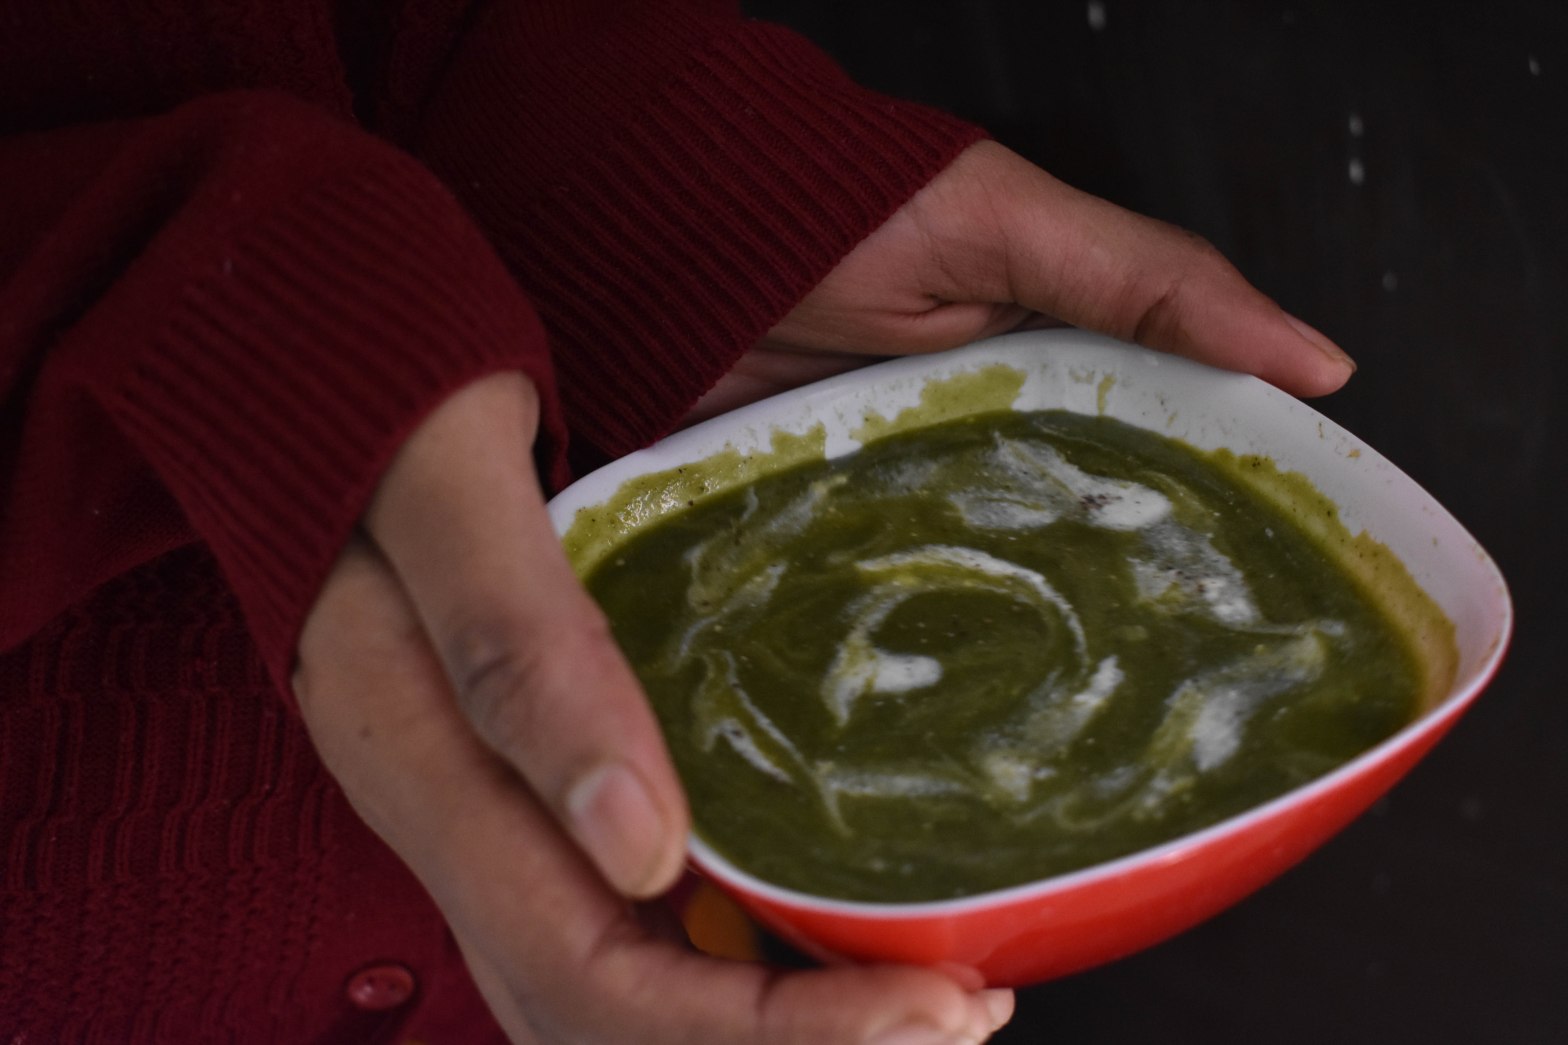
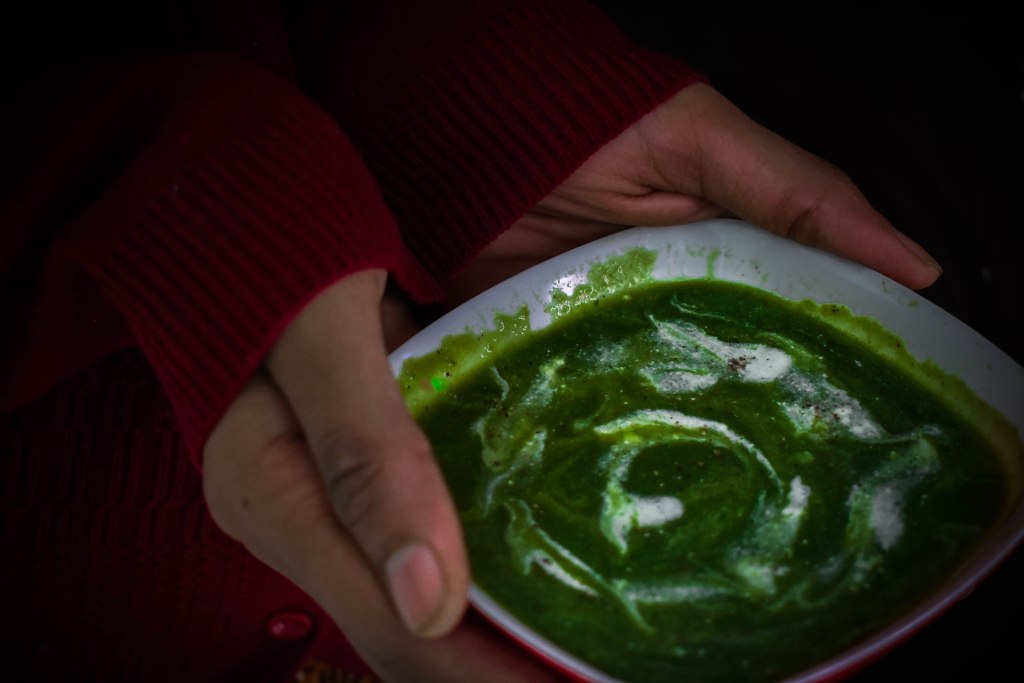
A bowl of green soup with ultimate comfort and goodness from all the greens, literally.
This is one kind of soup,I make often in our home, and believe me,you won’t even smell the rawness of greens. its rich and creamy and makes a fulfilling bowl that can be served as a mid day meal or as a breakfast/dinner.
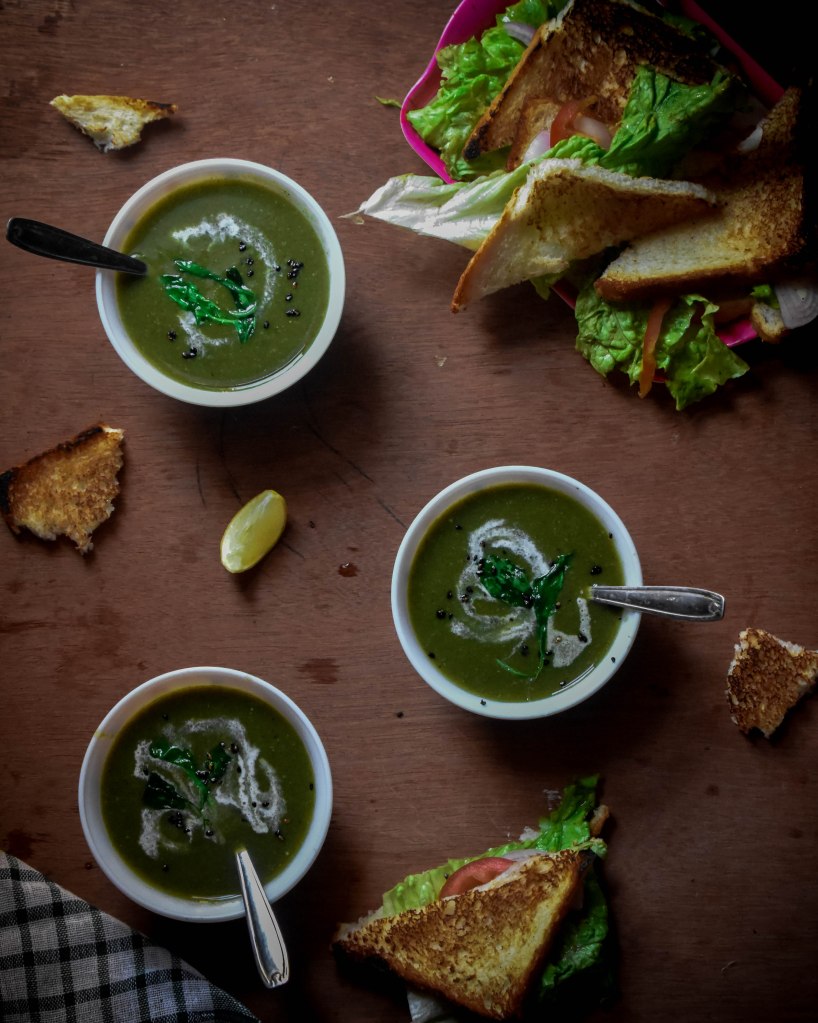
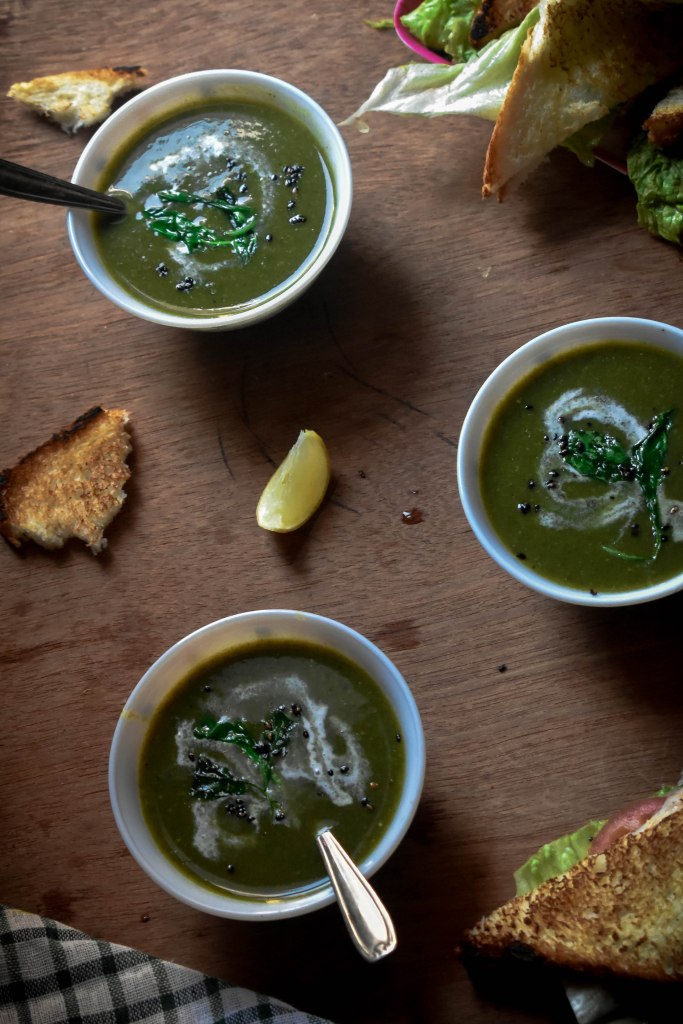
Now, it even gets easy for you to make your little fussy eater to eat their greens. no wonder they will surely comeback with a clean bowl.
I got inspired by this recipe through a cookbook, and made it to my own terms of comfort. you can skip the spices I used here in the recipe. but, I highly recommend you to add them if you can, as they add a unique flavour.
sometimes when I feel like having this bowl of comfort during peak winters, i’m unwillinglly forced to nil the use of fresh mint, as we don’t get mint in season at our place. but, it is still flavored the best.
you can also add dried mint at the end, for the flavor, or you can add the fresh mint if it is available at your place. but, I definitely recommend you to add them to get all the goodness and divine flavors.
now, let’s get into the recipe.
INGREDIENTS Serves 3-4 Preparation time 5 mins Cooking time 20 min Total time 25 min
Big Onion-1 peas-1 cup spinach-1bunch Potato(medium big)-1 Fresh coriander-1 tblsp Fresh mint-1tblsp Green chilly-1 salt-To taste Water or vegetable stock-3/4 litre
Join my email list today to get your favorite recipes inboxed, I swear no spamming. Trust me! ‘m so glad you finally landed here over the zillions of blogs to try out your favorite! Tried my recipe? Would love to hear from you!
This is the first post on my new blog. I’m just getting this new blog going, so stay tuned for more. Subscribe below to get notified when I post new updates.
Accomplish your daily right plant protein intake by this Spicy, tangy curry with red kidney beans.
This North Indian delicacy, claimed to have its roots from Punjab, is a creamy, and melt in a mouth dish.
Red kidney beans are a great source of vitamins, minerals and protein when cooked rightly. However, the improper cooking can make it toxic.
Generally, Rajma chawal is a two thingnthat is meant to be one!
yes, like dosas and sambar’s!
Rajma is red kidney beans curry and chawal is rice in Hindi. As they form a perfect pair the dish itself is called as Rajma Chawal.
have you ever tried Rajma chawal recipe with instant masala pack before? if so, I bet you ‘ll find this recipe much interesting,yummy and a fool proof way than your masala pack version.
Here’s how to get your Rajma chawal right with properly cooked Red kidney beans.
How to select your Rajma?
While buying Rajma, I would suggest to get that dark red colour kidney beans as they add a beautiful colour to your dish and also it was believed to cook soon.
If not don’t worry, any other Rajma could do the work but the colour wouldn’t be as shown here. It would be slightly pale.
You can also use precooked canned Rajma’s and I wouldn’t recommend it though, as I don’t use canned products much.
Looking for any other modern but healthy breakfast inspiration? Checkout my Millet pancake recipe
Soakingand cooking
It’s good to soak Rajma for twelve hours or a minimum of eight hours. Longer the soaking hours it is easy to cook and also it removes the toxicity of Rajma.
If you happen to reduce the soaking time you need to cook them more to get rid of the bity Rajma’s. Also, making them to soak overnight helps in easy digestion.
Okay! What if you need to make the Rajma today and forgot to soak?
There is still a solution.
You can still soak it for 2 hours in a hot water and the lid kept tightly closed. This is how I do sometimes, when I don’t have a meal plan.
In my early stages of cooking, When I didn’t worry about the soaking time, this would be my way to go method.
But, when I read an article about red kidney beans goodness and toxicity, I would always prefer to increase the soaking time.
After all, the nutrients values the most right?!
Creamy without cream
If you ran out of cream, or on some diet that beholds you from adding cream, there is still a fool proof way to make your Rajma masala creamy.
Just mash some rajma in your rajma masala with laddle to get that creamy consistency without adding cream.
This may sound simple, but really makes your gravy look rich and tastes heavenly.
Serving options
Dive deeply into this super creamy rajma recipe that makes a perfect combination to your steamed rice, pulao, phulkas, Roti’s and Naan.
Pair them perfectly with roasted papad, pickles or sabji ‘s.
Pairing Rajma chawal with hot jeera rice, roasted papad, salad and pickles are our favourite way.
Soak rajma or kidney beans atleast for 8 – 12 hours .
Pressure cook them by adding 4 cups of water on low heat, for 20 min or until they are cooked soft .
Gather all the ingredients.
Peel, wash, and finely chop ginger and garlic, set aside.
Peel, Wash, and chop the onions.
Wash and chop the tomatoes.
Puree a medium sized tomato.
Wash and slit 2 green chillies.
Gather all the spice powders as given in the ingredients list.
Take a deep bottomed pan or kadai add oil or ghee when it’s hot.
Add finely chopped ginger and garlic and saute for few minutes. Be careful not to burn it.
Add chopped onions and saute till translucent.
Now add green chilly and tomatoes and saute until it loses it state.
Now, add the coriander, cumin, Red chilly, garam masala, dry ginger and mango powder one by one.
Now, when the pressure is released add the cooked rajma with water and tomato puree to this mixture and simmer it for another 10 mins.
Adding tomato puree, really gives tanginess to the gravy making it luscious.
Add water if it’s necessary.
Add some salt to taste.
Season this rajma mix with ghee, bayleaf, fenugreek leaves, cumin and fresh pomegranate kernals.
Garnish with fresh coriander.
Top with extra butter or cream or you can totally skip that.
Toppings
You can top this Rajma masala with extra block of butter, cream or chopped onions or even you can serve that, as it is.
that topping of cream is always recommended if serving rajma for a party or for guests making it much rich.
A dash of lime can also be added to give that extra kick.
Note
If you’re using oil instead of ghee , I would recommend you to use mustard oil.
You can also use ginger garlic paste instead of finely chopped ginger and garlic.
If you’re using ginger garlic paste for the same measurement of ingredients, add 1 1/2 tblsp of paste instead of finely chopped ones. Also, fry them in oil after adding onions.
Strain the water, you soaked the kidney beans in before you pressure cook them.
If you don’t like the tanginess in your curry you can skip adding the amchoor powder.
You can also add Anar powder instead of seasoning it with pomegranate kernels.
if using Anar powder add 1/4 tsp for the same measurements of ingredients together with other spice powders.
‘m so glad you finally landed here over the zillions of blogs to try out your favorite! Tried my recipe? Would love to hear from you! you can tag me in instagram or mail your dishes if its from my blog. I would be happy to see you, cooking my recipes!
A Perfect tea time snack that can be made in a jiffy with fewest of ingredients to get that branded restaurant taste.
when is the last time you had onion rings at your tea time comfort? Make them this time to surprise your family with. Crispy onion rings that can be made in no time.
This serves as a best appetizers for a party and can be made completely vegan with just few ingredients.
It was a cold wintery evening , when I craved for something hot and crispy and my fridge was wiped clean as we were travelling the other day, and this is how my jiffy onion rings met the hot tea on a wintery evening.
I paired these crispies with chilli mayonnaise, you can serve with the same or as it is, as hot with a cuppa tea!
This is the easiest way of making onion rings with simple ingredients, yet it may be tricky and hence patience is required to get the right rings.
Let’s do it!
Tips
Always choose big onions, while making rings so that you can have many rings and the shape of your rings will also be big.
If you’re a novice cook, you should be bit careful while cutting the rings in circle shape.
If you wish to have onion discs avoid removing the center part, but it still gets tricky to turn them or coat them.
Batter should be without lumps, otherwise you will end up with rings concentrated and uncooked at one side.
Use a fork to move your rings to avoid breakage.
Using your hands can be messy and inconvenient.
Use a tissue by side to wipe of the batter from the fork.
Carefully do it while making a cut, otherwise you will end up in a deformed shape.
Let the rings be neither too thick nor thin.
Remove the center part of onion circles to form a ring. you can also use as it is.
Each onions would give you a maximum of 5 rings.
Always choose a onion that is big in size for a better result.
In an another vessel, mix maida, chilli flakes, pepper, mixed herbs and salt.
Add required amount of water to form a batter and mix without any lumps.
In another flat plate or vessel take the breadcrumbs.
Take the onion rings gently with the help of a fork and coat it with the batter.
Similarly turn it with the fork to coat the other side.
Now move it to a vessel with breadcrumbs. Carefully, coat with breadcrumbs by using a spoon.
In a deep bottom vessel, add oil when it is hot.
When the oil is hot enough for frying, add the onions rings and fry them.
Use a separate spoon for frying and draining.
Store it in an airtight container or serve it immediately hot with a cup of tea or coffee.
You can also pair them with mayonnaise.
Happy Snacking!
Join my email list today to get your favorite recipes inboxed, I swear no spamming. Trust me!
‘m so glad you finally landed here over the zillions of blogs to try out your favorite! Tried my recipe? Would love to hear from you! you can tag me in instagram or mail your dishes if its from my blog. I would be happy to see you, cooking my recipes!
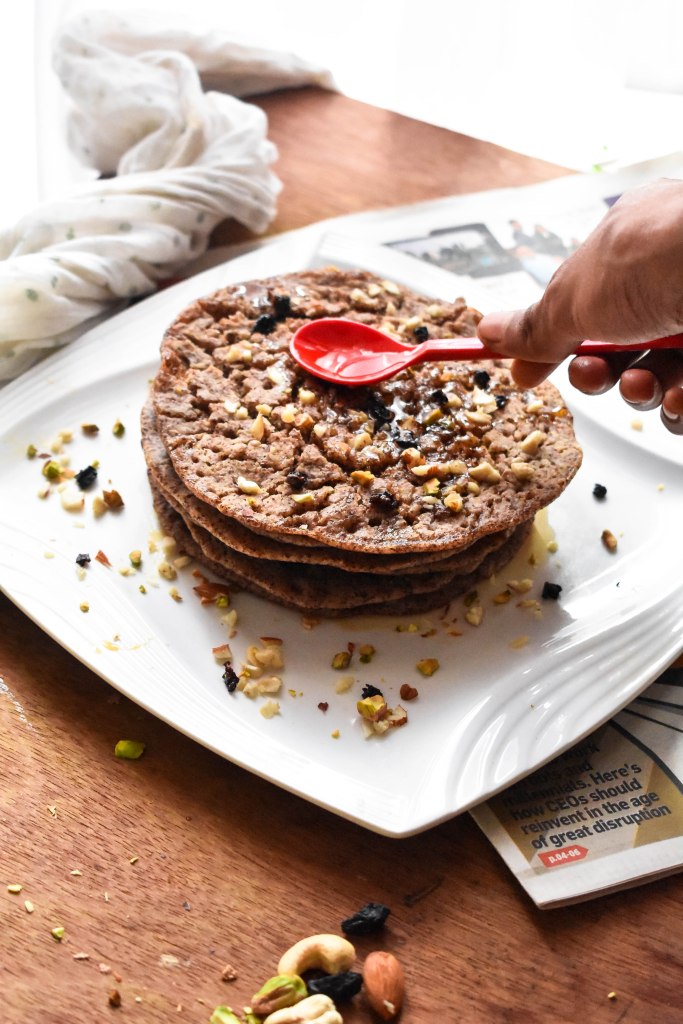
Simple pancakes, that is highly nutitious and makes a healthy breakfast.
In this industrious world, following a perfect diet has become a big challenge with us running behind our carrier. Even most of us, have no time to think what our earlier generations might have consumed as a part of their healthy diet to keep them strong. Thus, we have moved to fast food, or that daily boring routine with being no interest in cooking.
Millets, on the other hand are highly nutritious, thus making a perfect healthy breakfast. This millet pancake is yet, so simple like your daily boring cooking routine. But, delicious and healthy than the fast food. This highly nutritious pancakes have multiple health benefits as we combine two of the millets here.
Benefits of Barnyard millets • rich in anti-oxidants • Fiber content is six times that of a wheat • High in immunity power • Rich in calcium and phosphorous Thereby, lowering the risk of obesity, blood pressure, diabetics and infections, maintaining your heart health and bone health and keeping away from some cancers. Benefits of using Raggi • Rich in protein and amino acids Thereby, maintaining healthy brain development in babies.
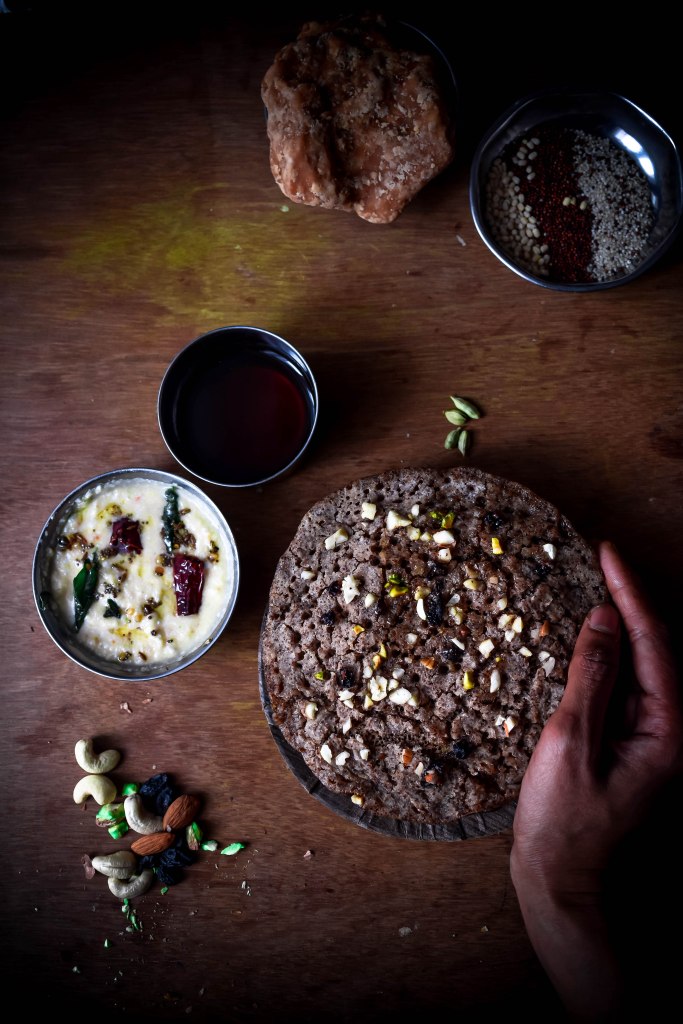
This recipe of millet pancakes are designed to like even by fussy toddlers. Pair it with your favorite coconut chutney for a regular dosa vibes or honey for an American pancake look! Bonus point is they are gluten free and vegan too if not using honey! Hey, why so waiting? Give a healthy start to your day by jumping to the recipe.
Happy making!
INGREDIENTS Barnyard Millet-1 cup Raggi-1 cup Urad dal-½ cup Jaggery-2 cups or adjust according to your taste Cardamon powder-½ tsp Oil- little For Garnishing Slivered Almond Slivered Raisins Slivered cashews
For the Batter • Take required amount of raggi and barnyard millets and urad dal in a separate bowl. Wash them thoroughly and carefully. • Soak them in required amount of water (until the millets completely sunk in it) for 2 hours. • Grind them all, one at a time, by adding little water. • Mix them all together. In this stage, you can add the jaggery as I did or else you can add them later too. • If adding before making the pancakes, melt the jaggery with ¼ cup of water and add it to the batter by filtering it. For the pancakes • Heat the tawa at high flame, when the tawa is ready to make, spread little oil. • Take a spoonful of batter and make small pancakes and lower the flame. • If adding jaggery shreds, add at this stage. • Garnish with dry fruits mentioned in the garnishing section. • Gently flip the side, when one side is cooked. Serving options • Coconut chutney • Honey if you have a sweet tooth.
*Tips: • Add water little by little while grinding, remember we need to add that jaggery syrup too. Too much water may make the batter runny, making the pancakes hard to flip. • Carefully wash the grains, as they are too small • Gently flipping of the pancakes is necessary as the jaggery in them has the property to stick it to the tawa or leave for it to cook the top.
Join my email list today to get your favorite recipes inboxed, I swear no spamming. Trust me!
‘m so glad you finally landed here over the zillions of blogs to try out your favorite! Tried my recipe? Would love to hear from you!
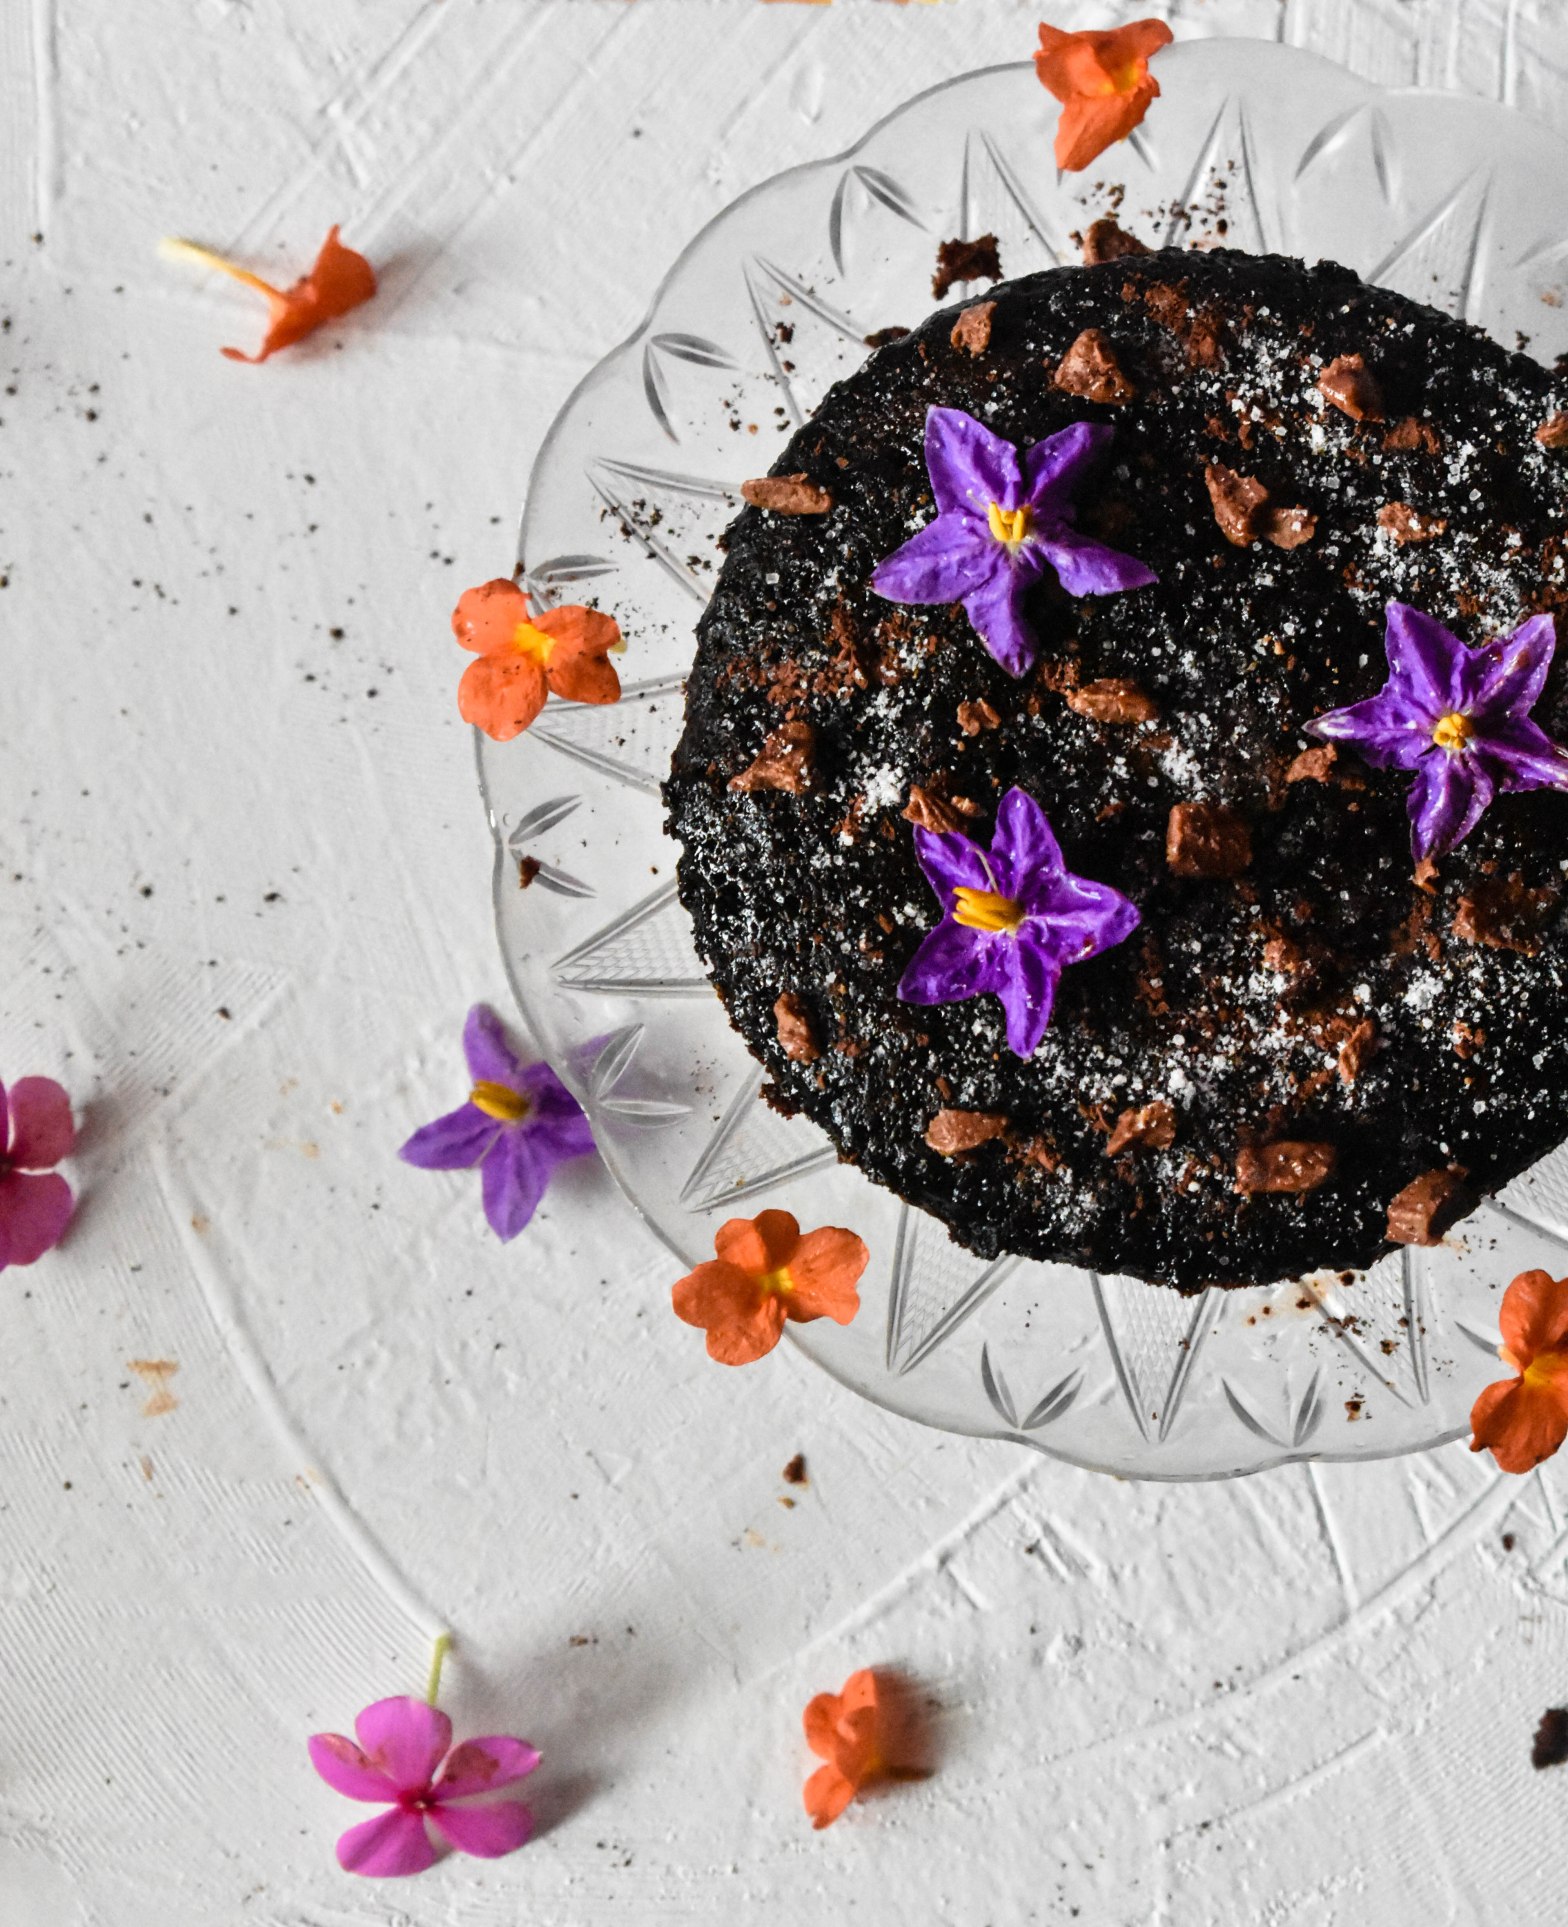
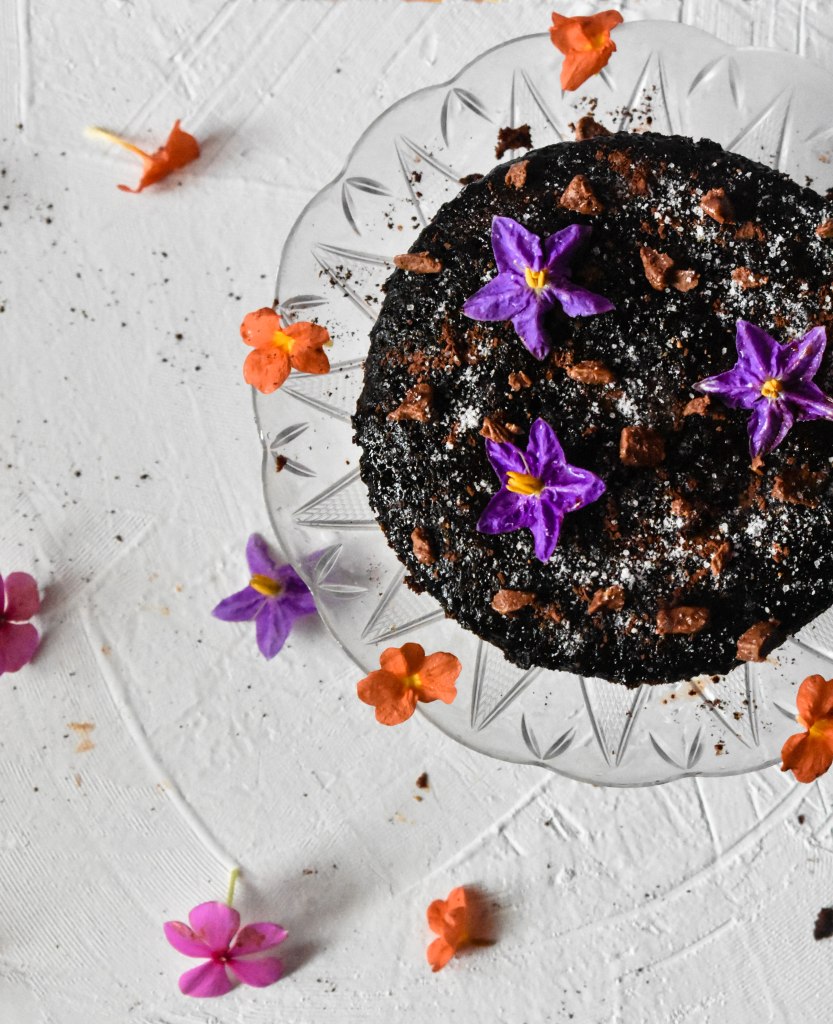
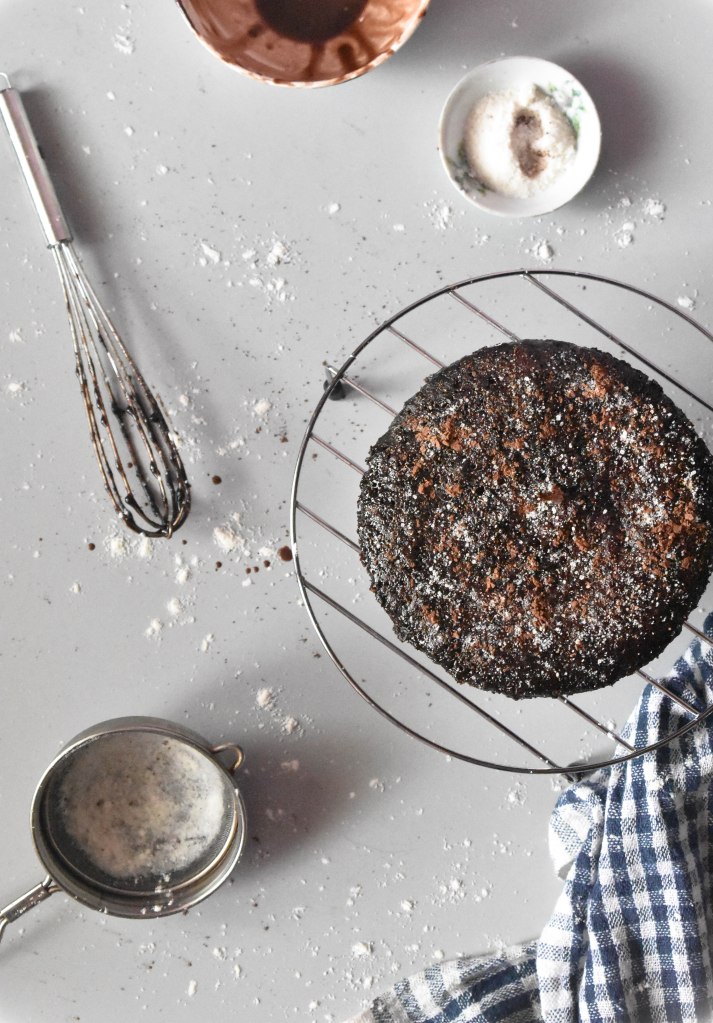
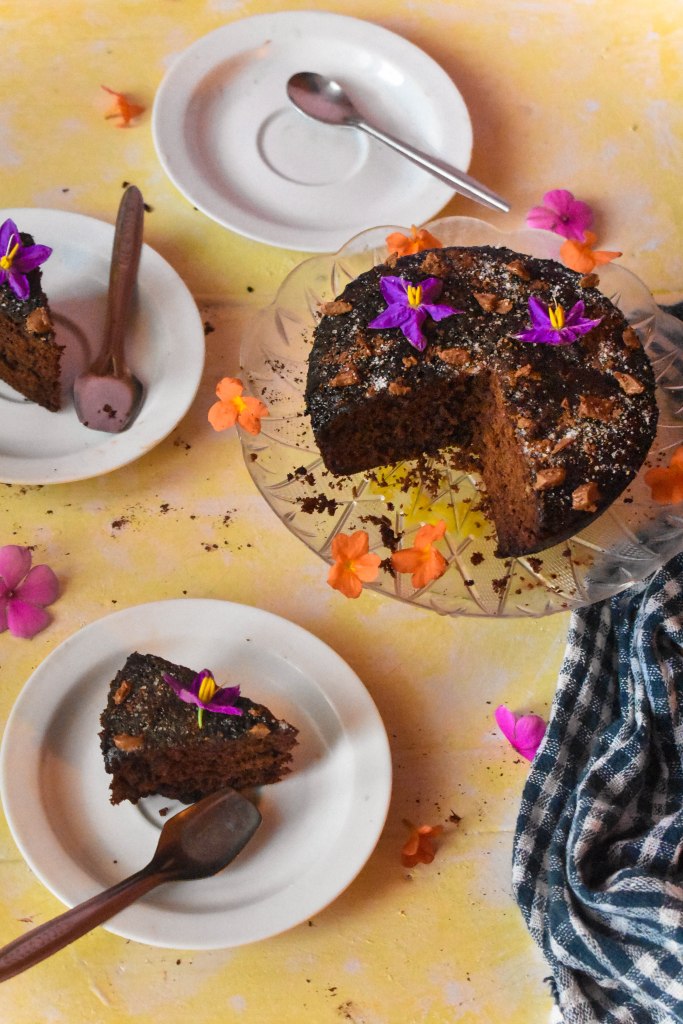
Spongy, airy, and soft textured chocolate flavored cake is ready with few ingredients, minimal time and with no big baking fuss and that too without an Oven!
If you are a beginner in baking and want to surprise your family or loved ones with minimal time and simple ingredients, then this recipe is for you!
I had a long time wish to bake a simple cake with fuss free steps, and this was my first ever tried recipe which worked out like a magic! As I was a beginner with baking I had a whole lot of doubts about cookware to use, and was so hesitated to start.
But, don’t worry I have sorted out some tips for you! Just skip them all if you aren’t the beginner and knows well about baking! So here is something for you which I learnt in the due process,
An Oven and microwave are always different.
I used a Circular glass baking try for this recipe, you may also try baking tins.
Read your instruction manual carefully before using the cookware, because most of us don’t have that habit and Each microwave differs from the other.
Always don’t fill the cake batter till the brim because as the flour rises during baking it will cause it to spill and make a mess inside.
Always grease the bottom of the baking try.
Baking Powder and Baking sodas are different.
Caster sugar and Powdered sugars are different. Powdered sugars are very fine form of sugar.
* Remember that vegetable oil or any other oil use for baking will leave its flavor in your baked product. If you want a flavor, use flavored oil or else just use butter or unflavored ones.
Let’s Start creating!!
All Purpose Flour- ½ cup Cocoa- ¼ cup Baking Powder- 1/3 tsp Baking soda -a pinch Eggs- 2 eggs Caster Sugar- ½ cup Vanilla Essence (optional)- ½ tsp Vegetable oil /Butter- 1/3 cup A baking try or a microwave supported glass bowl An Microwave
To begin
Sieve the All-purpose flour, cocoa, baking powder, and baking soda together. This prevents any lump formation.
Beat two eggs.
Mix the eggs with sugar and vanilla Essence.
Now, add the butter, gradually beating the mixture.
Transfer to a greased microwave bowl of 6 ½” diameter.
Topping Options: *I topped it with powdered sugar, cocoa powder and some chocolate chunks. *You can try your hands on it creatively.
Tips: *For toppings you can melt a chocolate and make a spread, a Choco spread or ganache *I have tried this recipe with powdered sugar instead of a caster sugar, and it was not a fail!
Join my email list today to get your favorite recipes inboxed, I swear no spamming. Trust me! ‘m so glad you finally landed here over the zillions of blogs to try out your favorite! Tried my recipe? Would love to hear from you!
‘m so glad you finally landed here over the zillions of blogs to try out your favorite! Tried my recipe? Would love to hear from you! you can tag me in instagram or mail your dishes if its from my blog. I would be happy to see you, cooking my recipes!